Wheelhouse interior refurbished.
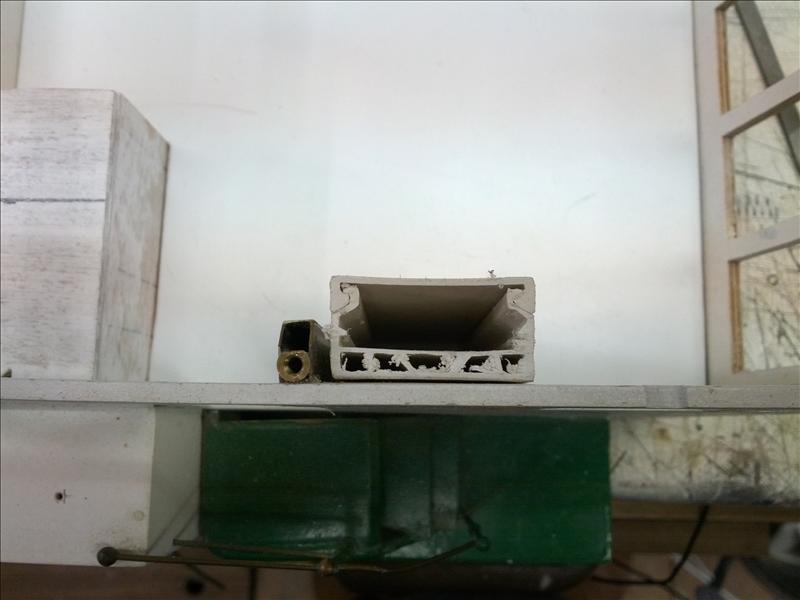
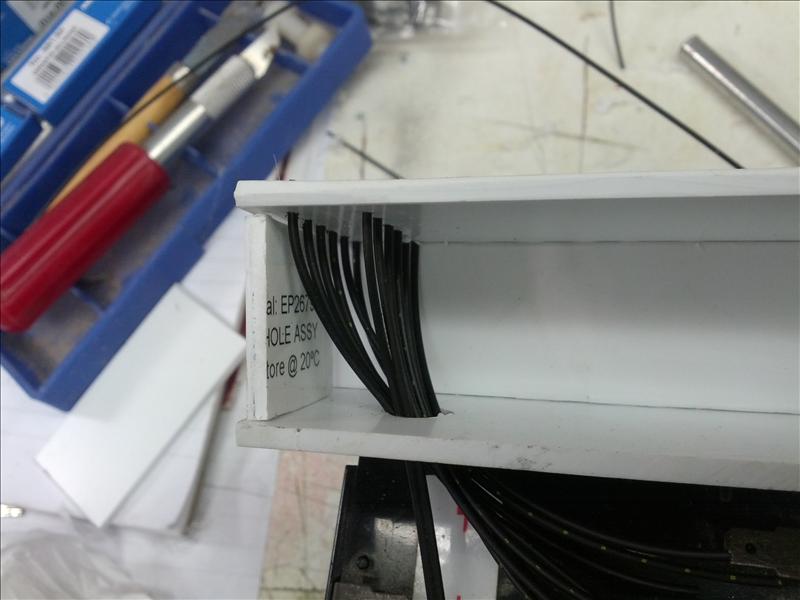
To get all the cables of the motors, lights and other users down the wheelhouse without seeing them, I made a change to the interior by placing a small cable conduit. For this I hat to close one of the windows.
The cable conduit.
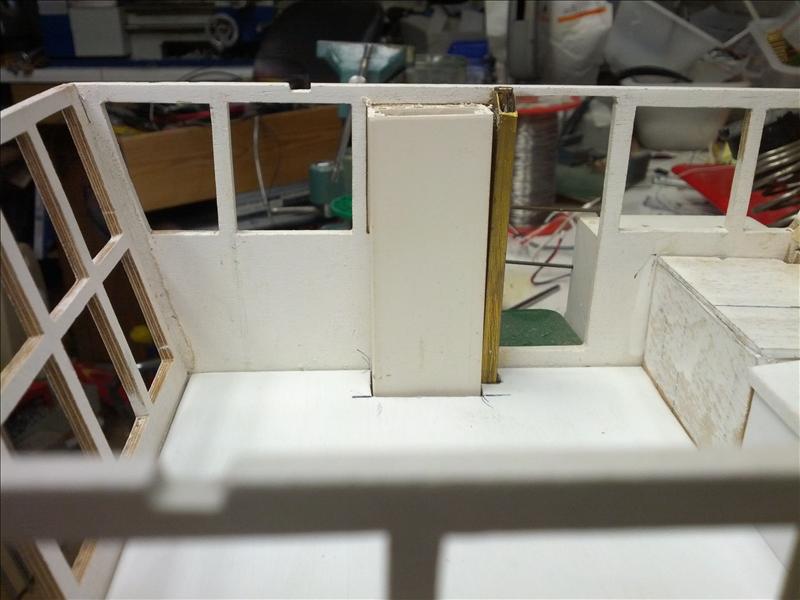
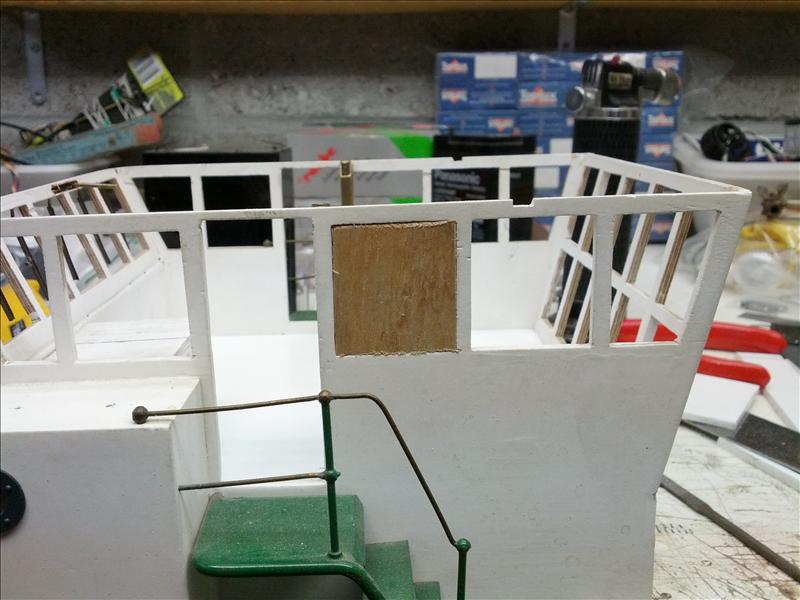
Here the window is already closed just finishing is needed.
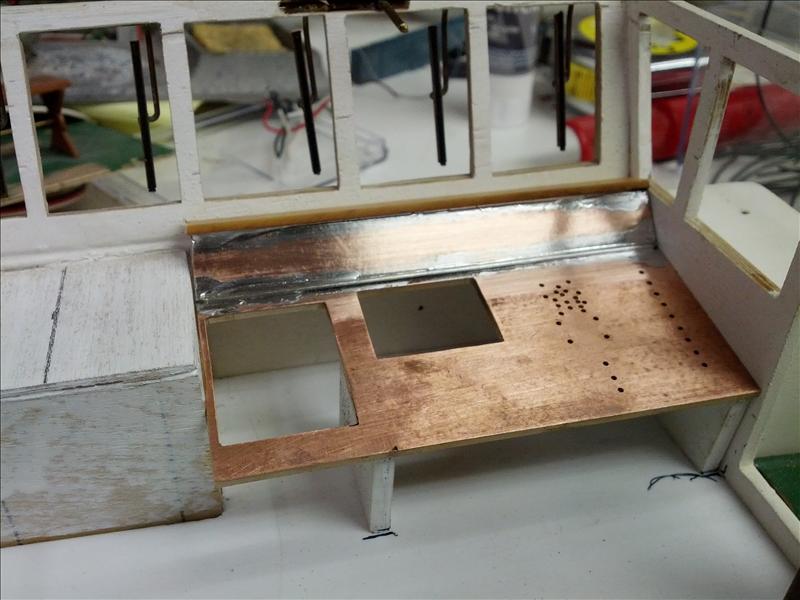
At first I had a wooden floor but for this refurbishment I took some 3 mm polystyrol, on this the new dashboard will be build. Also the sitting cormer and other consoles will be build on this.
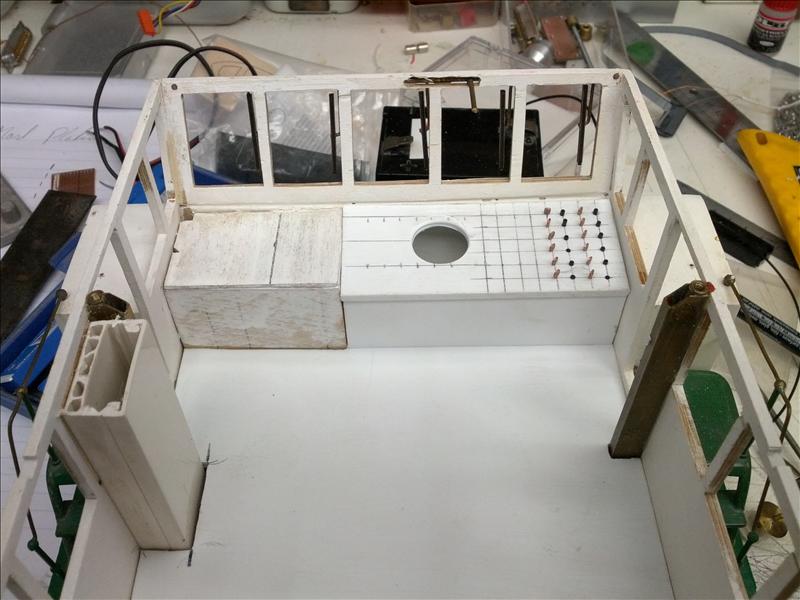
On the dashboard there will be on / off switches, controlelights, working radar and other controls.
 0
0
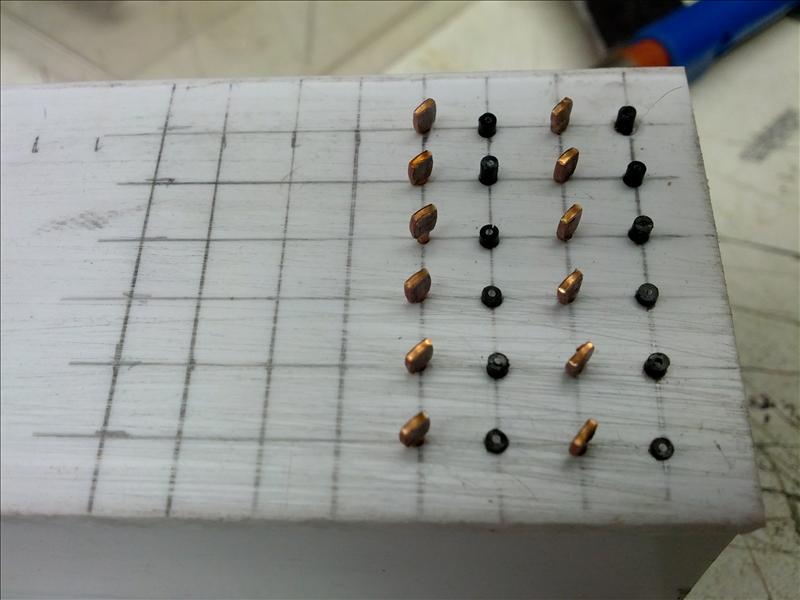
The lights will be made out of fibers, they will go through the floor and go into a holder for a duo-LED, red when lights are on and green when the be off. The switches are made of a small soft copper wire wich is pressed flat in a vice.
The fibers.
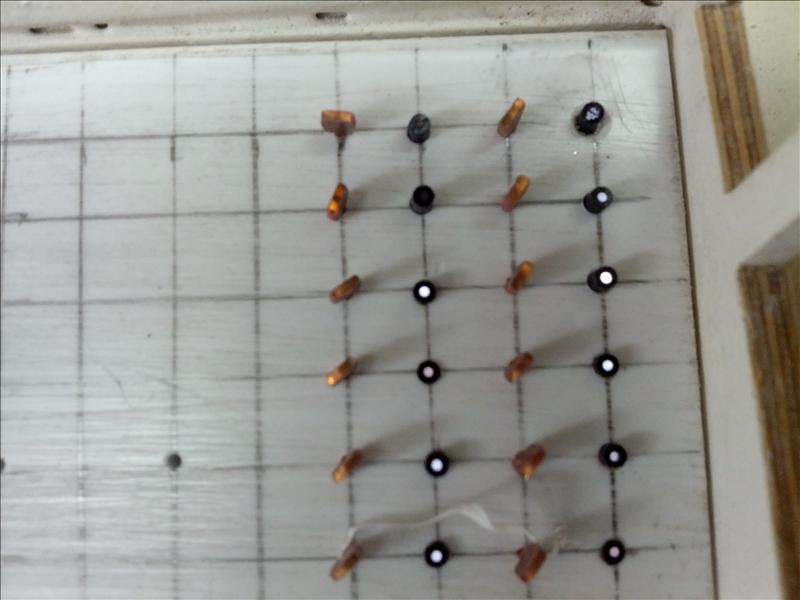
Here you see some fibers where a lightsource is held on the other side, I use this system already on the Dino II and the result is very good in the dark.
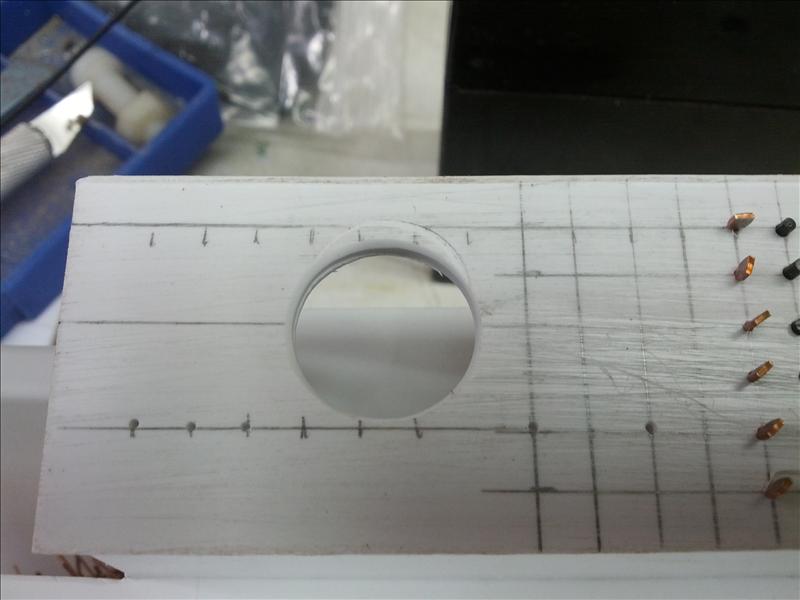
The plan is to make a working radar screen, this will be the hole for it.
During the search for controls to put on the dashboard I got the idea that the dashboard so far isn't the best. So several pictures of controls were downloaded and with the help of a photo editing program edited to fit the model.
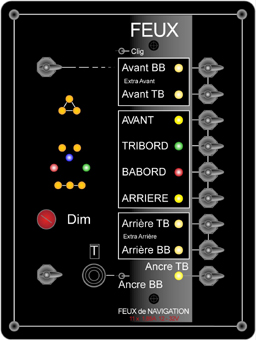
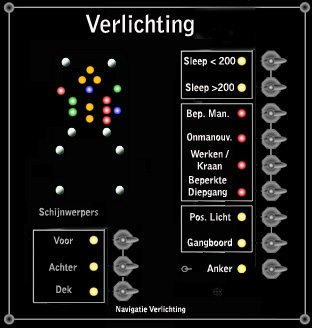
On the left you see the original control and on the right side the edited control for the dash,
on this the controllights are as the will be on the model.
Also the text is changed to dutch and there is a slight difference in controls.
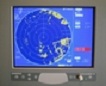
A modern radar screen and a chartplotter were also on the wish list.
![]()
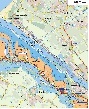

The radar screen and its control is right of the internet and scaled to the right size,
the chart is from the rotterdam port site and this is edited into a monitor.
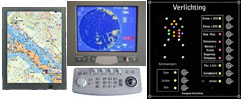
The above picture is the result.
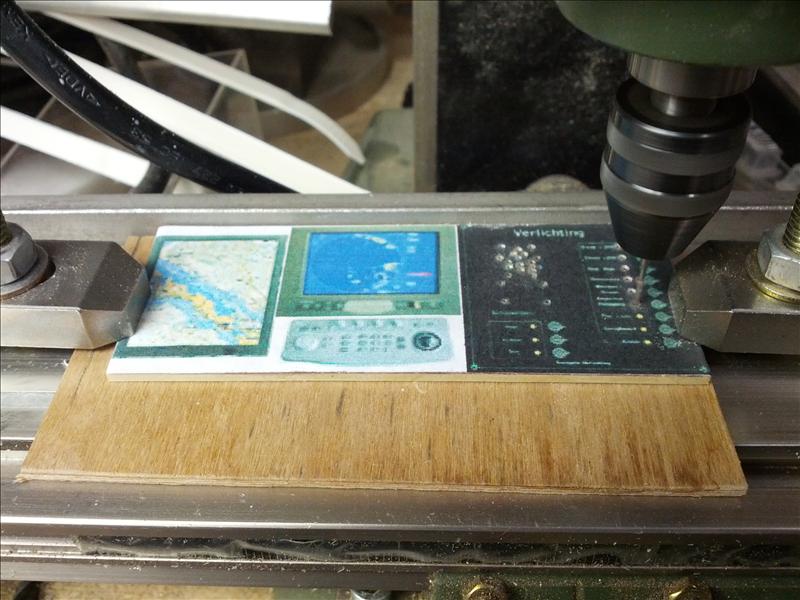
The print of the dash is glueed to a small piece of a pcb and the holes were drilled, the fibers will be placed in them.
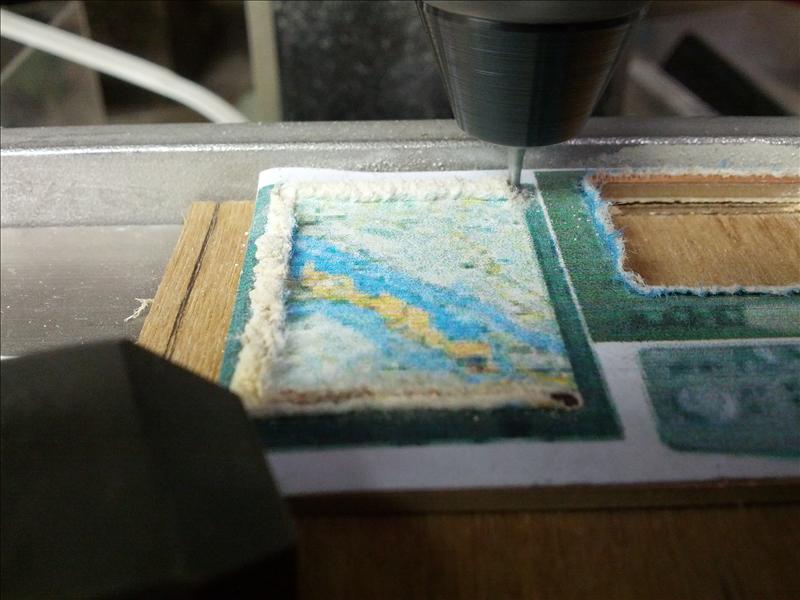
Also both the displays were milled out.
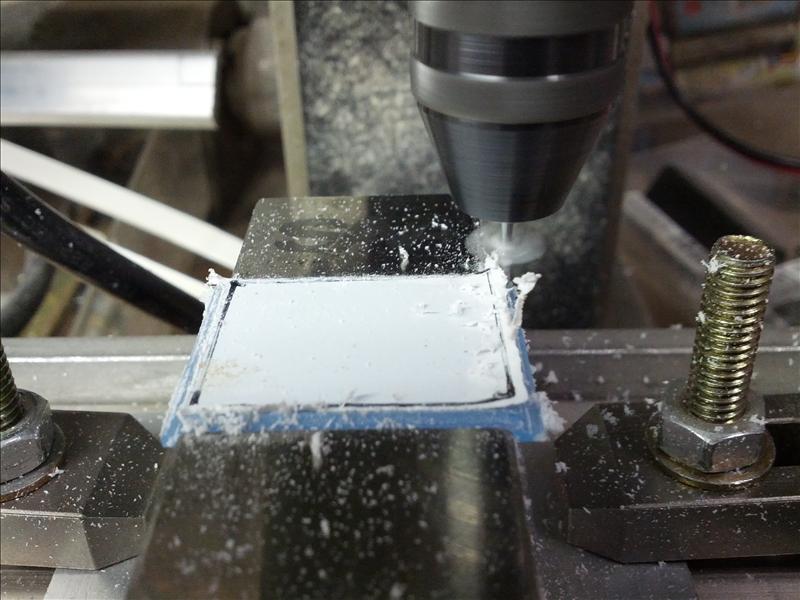
After this the screens were milled from a piece of plexiglass so the screens can be lighted from below.
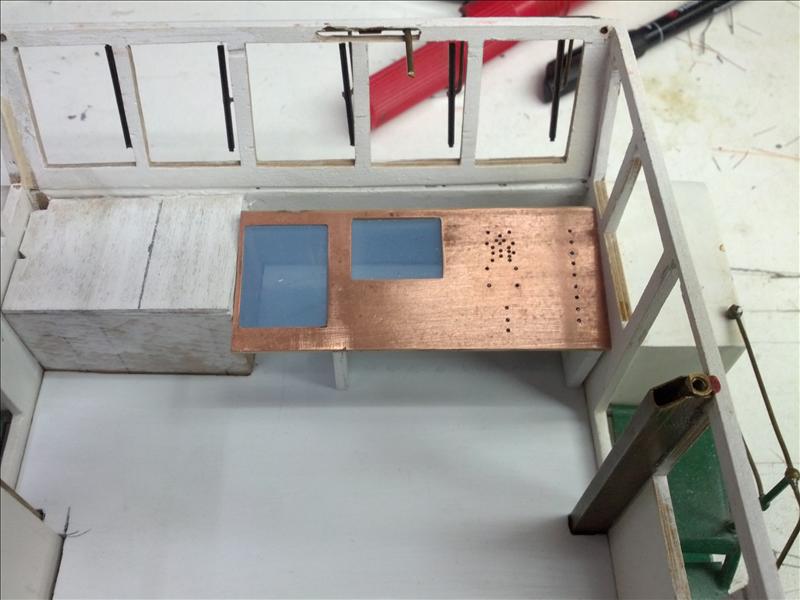
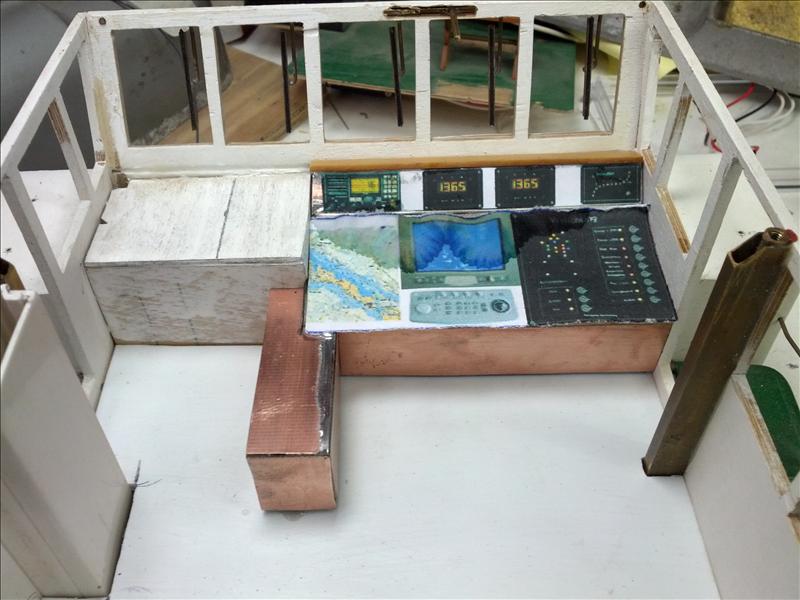
This is a first trial fitting of the new dashboard with the holes and the screens.
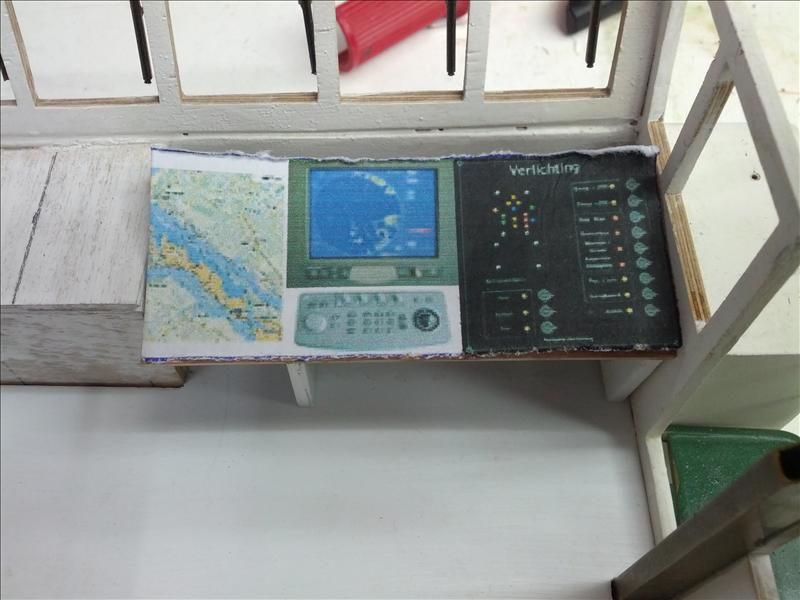
And this is how it should be when it's finished. The controls will be printed on a piece of plastic sheet.
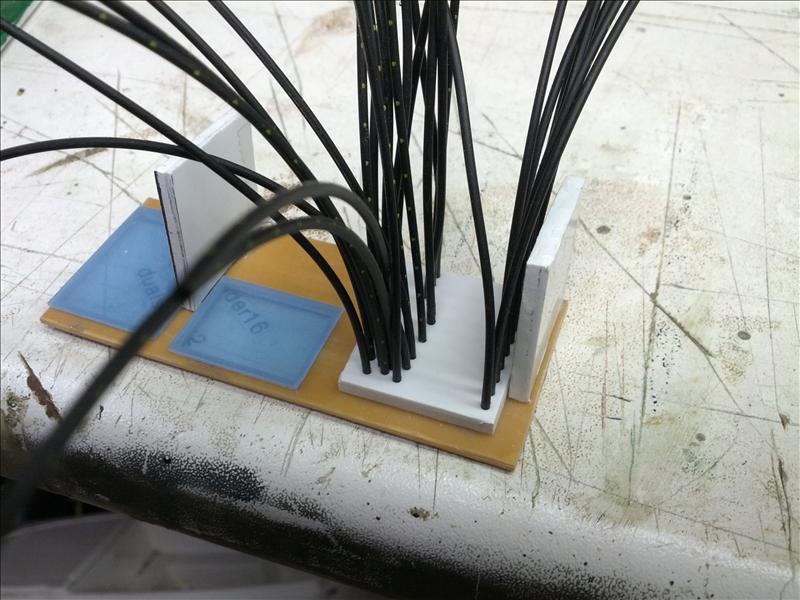
On the bottomside there is a peice of polystyrol glueed to get more surface to glue the fibers.
To get more controls on the dashboard a extra space is created on the topside, here the rpm controls, windmeter and the marine telephone.
![]()
A print of the topside.

The last part is a sidetable for the controls of the engines, bowthruster etc.
This will be how it's look when it's finished, just the controls on the sidetable need to be added.